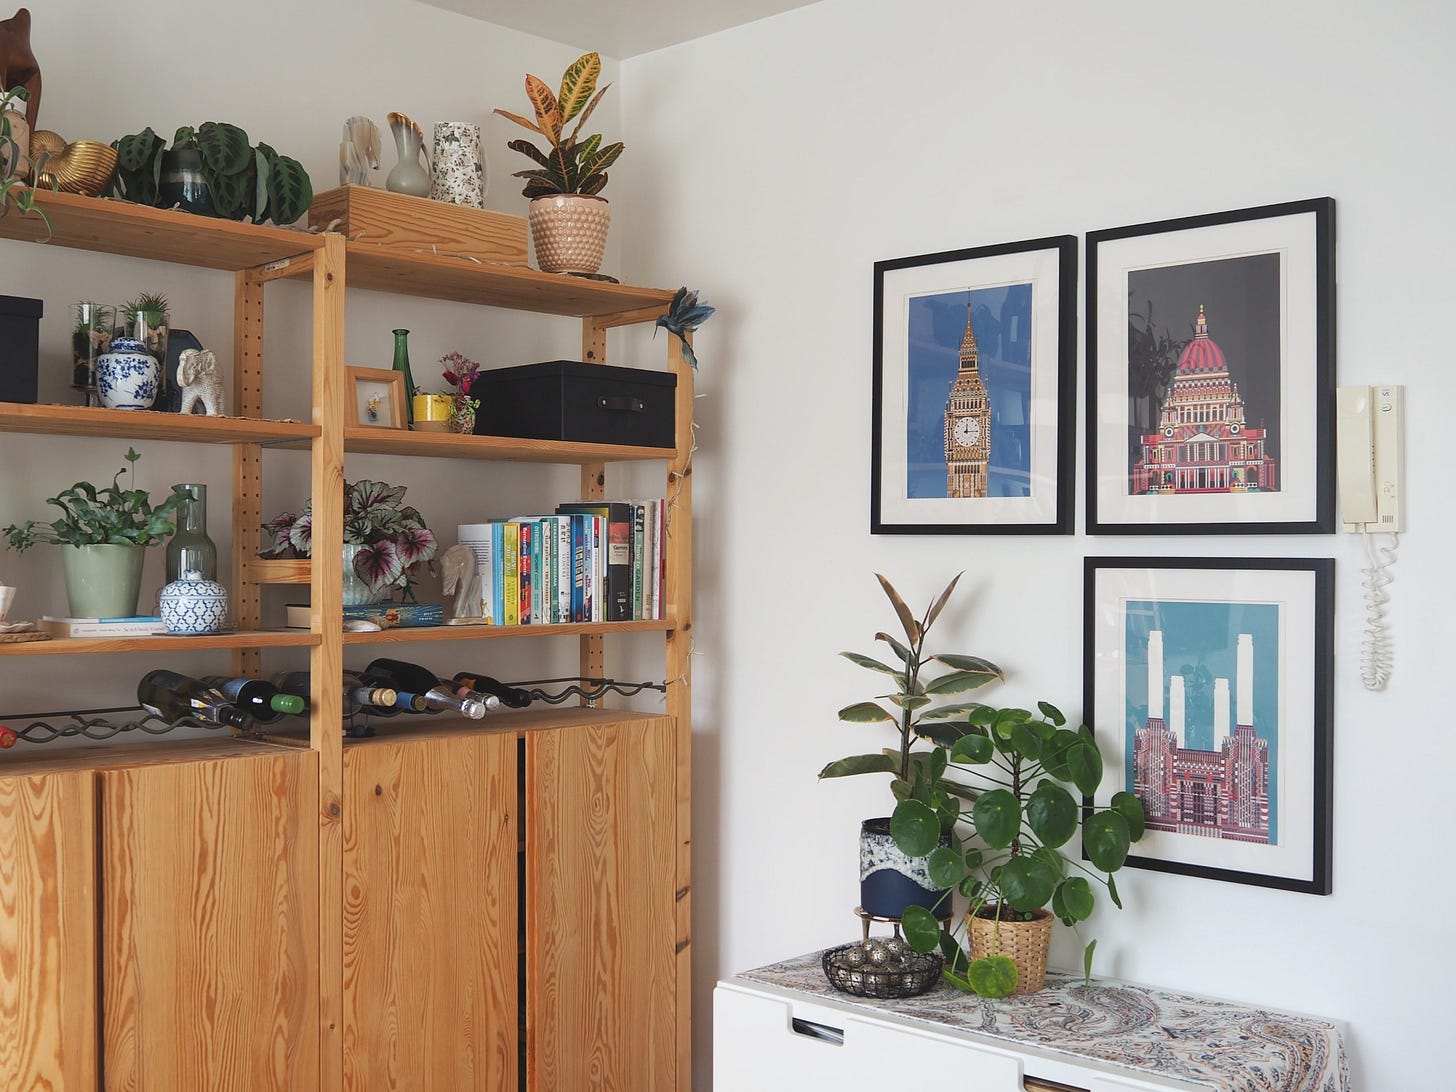
A few weeks ago I found myself sitting in the living room, staring at my London prints. Since moving into the new apartment, I was never 100% happy with them here, and that evening I came to the conclusion that, firstly, the size of the pieces was too imposing for the space, especially all three placed above the, relative to the art, narrow storage unit. Then, the black frames and shaded tones of the art became too dark and muted for the overall scheme of the apartment, which has naturally moved into using more uplifting and fresher tones. However, assessing the feeling those prints evoked in me, the strongest one was that it was simply time to say goodbye to the city I now left almost exactly a year ago, and instead display something here that reminds me of my new experiences and achievements.
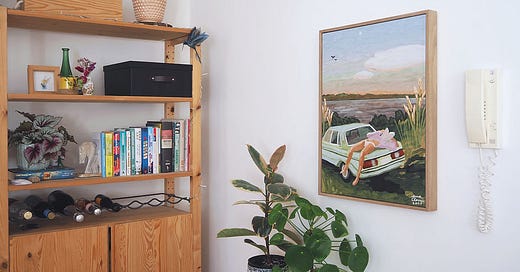
Well, lo and behold, scrolling through my phone one evening, I came across the perfect piece that would do exactly that, 'Laguna' by Ana Clerici, my favourite newly discovered artist. I first came across Ana’s work when making over my dining nook and instantly fell in love with her use of colour, as well as the femininity, confidence, and freedom in her pieces. When I saw ‘Laguna’, I instantly felt a connection and knew it’s the right piece for my little art reshuffle in the living room. It would not only help celebrate me recently purchasing my first ever car, and the freedom and independence this brought into my life, but it also depicts how lovely and calm it feels spending time by the water, my favourite place to escape to, be it a lake, river, or the sea. And lastly, on a very personal note, the piece for me would be a constant reminder of the importance of self-confidence, being in complete comfort with one’s self, and caring less about what others may think. Well, given all that, I had to have it.
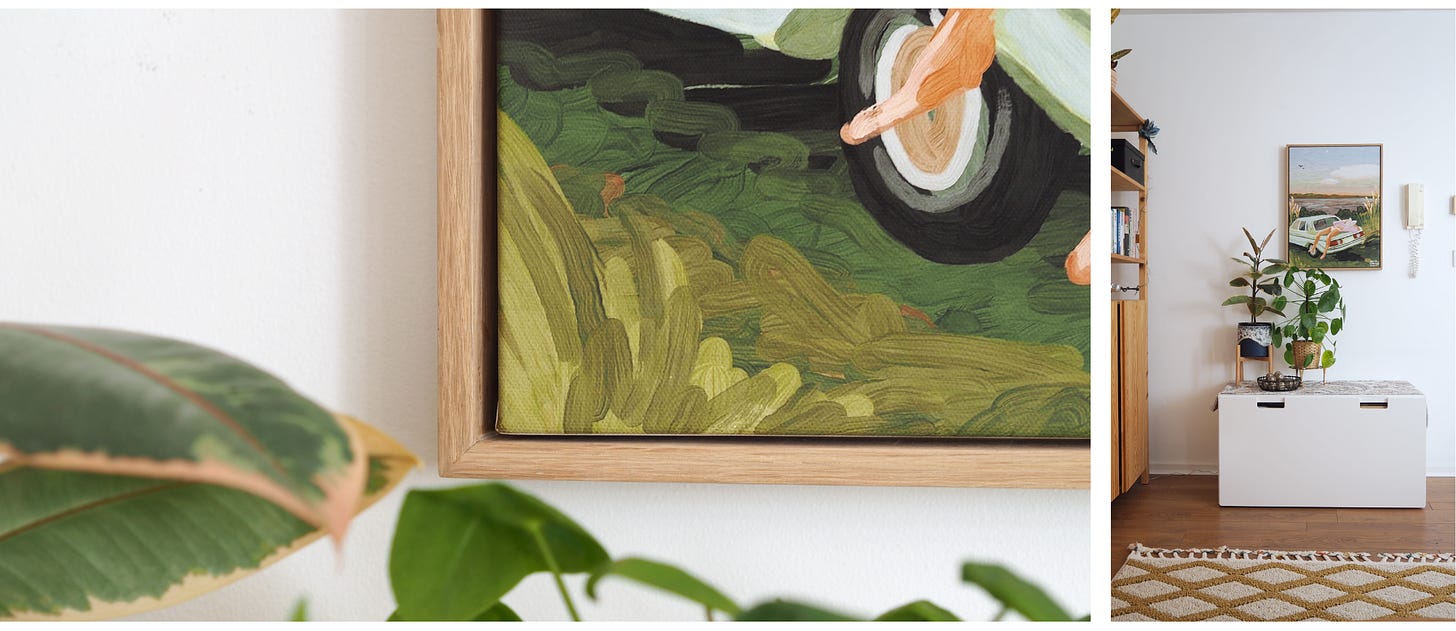
As I already owned a few framed prints, to mix things up, I purchased this piece on canvas, in the biggest size I could afford. When it arrived and I tested it out tough, I felt that something was missing. This lovely piece seemed to get lost in the space and simply needed something to ground it, and help it embody a bit more presence - a frame. I imagined one that would magically float around the art, but couldn’t find one that was affordable. So making my own was the way forward, and here is how I did it.
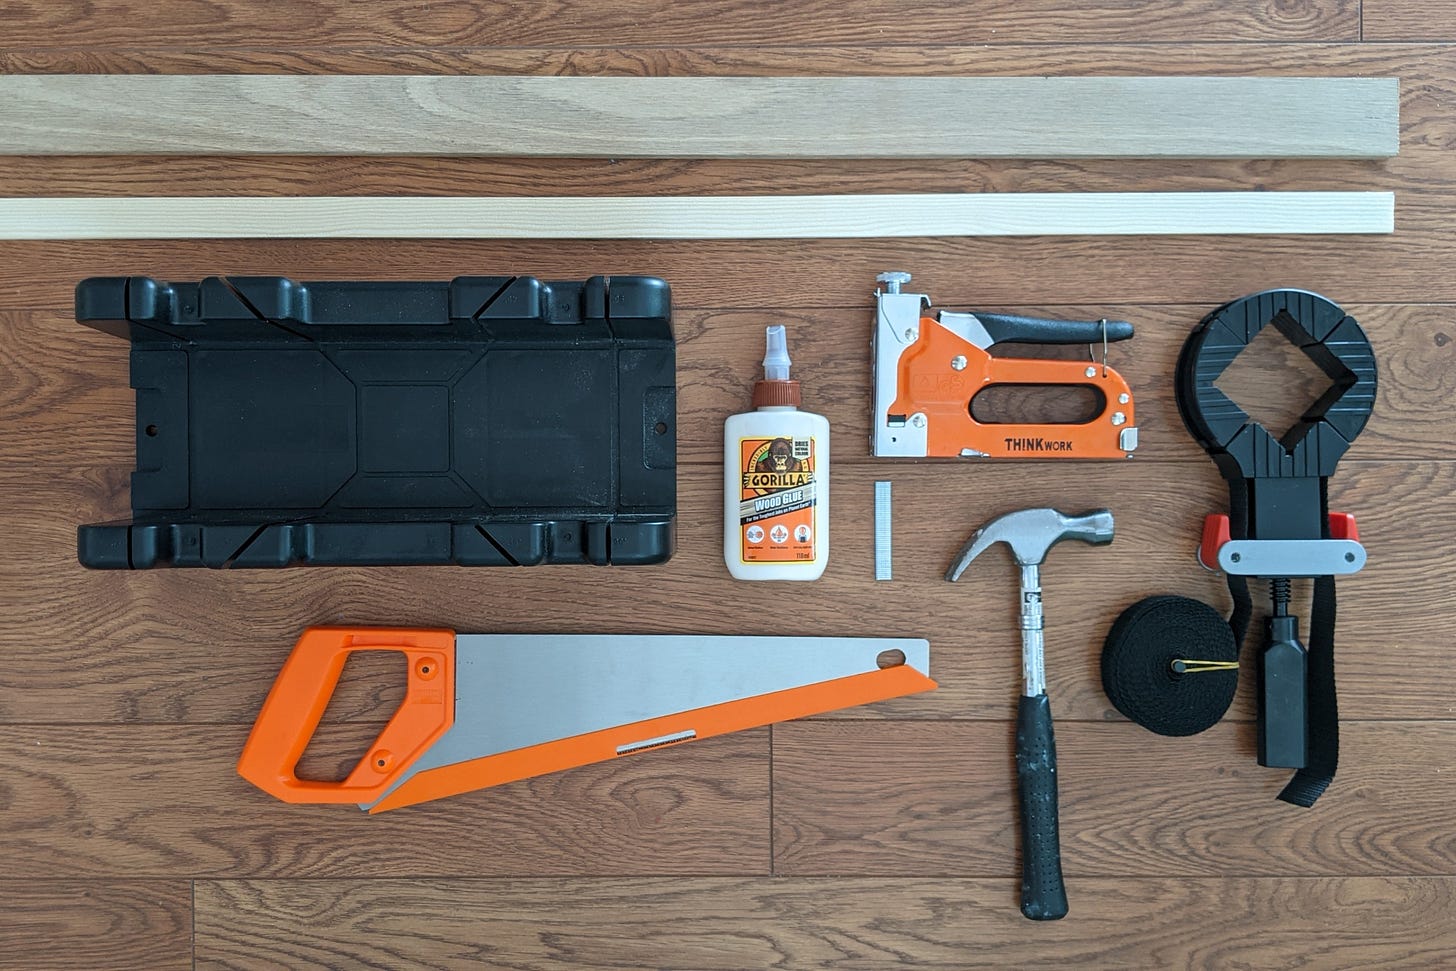
The materials
Oak wood strip or any wood preferred for the outer frame
Pine wood strip or the same wood as used for the outer frame
Wood glue
Screws, just long enough to secure the canvas to the frame, e.g. 25mm
Nails for a staple or nail gun
The tools
Mitre box and saw, or electric mitre saw
Staple or nail gun
Band clamp
Hammer
Combination square
Pencil
Measuring tape
Sanding block with medium coarse paper, e.g. 80 grit or finer
Electric sander with fine grit paper, e.g. 180 grit or finer
Wood filler, ready mixed or home-made
Clamps, at least a couple of but 8 are definitely more handy to save time
Playing cards
Electric drill with countersink bit and drill bit matching the screws used, e.g. 3mm
The process
Plan, plan, plan
It is crucial to plan out the frame before heading to the DIY store. Knowing how the frame will be constructed and the exact length of the individual frame pieces required, will inform the length, number, and types of wood strips needed.
My floating frame is a very simple construction of two main parts: (a) the main frame in oak, and (b) a back piece in pine. The latter, though invisible later, has two important functions. On the one hand, the pine covers the gap between the canvas and frame at the back to avoid the wall peeking through. On the other hand, this is the part to which the canvas is secured within the frame.
Now to the calculations, where I took the following into consideration for the main frame structure. For each of the four sides I added up:
length of canvas side + 2x gap width + 2x thickness of frameThe back cover pieces were much simpler, where for each of the four sides, I calculated:
length of canvas side + 2x gap widthThe gap width all around the canvas in my project ended up being 5mm, as that balanced nicely with the size of the art and frame thickness I’ve chosen.
The final consideration is the depth of the frame when looking at it sideways. The frame would need to be at least as deep as the canvas + the width of the pine strip. The latter would ideally sit inside the outer frame, invisible, to give the frame the impression of it truly floating around the art. It is worth considering adding a few millimetres to the depth of the main frame, so that the canvas can sit slightly recessed, rather than being flush with the front edge. Personally, I prefer the recessed option, as it gives the finished piece a bit of depth. However, that is entirely a question of personal taste and as it’s a custom-built frame after all, the beauty is, you can do whatever you feel like.
Having added everything up and considered the details of the construction, my project only needed one strip of oak (L)2.4m (W)46mm (T)10.5mm, and one strip of pine (L)2.4m (W)25mm (T)4mm. Both could be cut to size with only very little wastage.
Choosing the wood
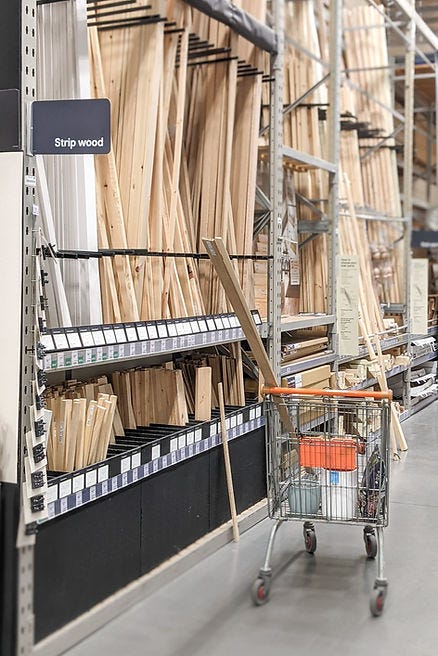
A super simple step, but one that is quite important not to forget, is making sure to choose suitable pieces of wood. This especially refers to their shape, as to build a perfectly straight frame, the wood strips also need to be perfectly straight. It would be very difficult to bend the wood into shape when constructing the frame, especially without specialist tools. Also quite frankly, I’d rather spend my time choosing the perfect pieces to start with, than having to adapt them later. Wouldn’t you?
Next to the shape of the wood, it may also be worth thinking about the look of the wood grain, especially if the wood is not going to be treated or painted, and if more than one piece is required for a project. My frame only required one strip of the oak and pine, so I didn’t need to look for wood pieces with complementary grains. However, this did not keep me from spending hours inspecting almost every single wood strip on the shelf in the DIY store to find perfectly straight pieces with the most beautifully looking grain.
Cutting the frame pieces
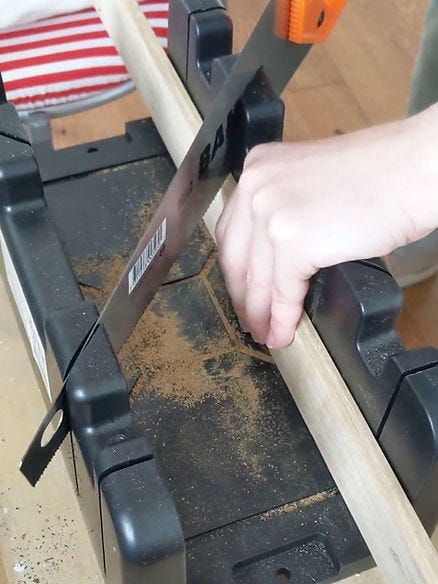
Once back home the fun part of building the frame begins, finally. First of all, the wood strips need to be cut to size. In my project, for the outer frame, the depth of the oak piece would form the front of the frame, where the width would form the depth of the frame. Thus, I needed to realise a bevel cut on my oak pieces, where I cut diagonally through the thickness of the wood strip. The pine pieces used for the back of the frame however, would be joined to each other, as well as to the frame, along their narrow edges. These pieces required a simple mitre cut, which is an angled cut made through the width of the wood strip, rather than its depth.
Given I don’t own an electric mitre saw yet, my mitre block as well as hand wood saw for fine cuts were absolutely suitable for the job. It was of course a bit more difficult to ensure perfectly straight cuts with a hand saw, but small imperfections can be evened out later.
Before cutting my first piece of the oak or pine, I made my angled cuts at one end of the oak and pine wood strips respectively. This was my starting point for measuring the length required. To make absolutely sure I measured correctly, I’ve placed the canvas up against the wood strip, before cutting. I repeated this process for all four sides, being careful to make the correct bevel or mitre cut in terms of the direction. These angled cuts can get quite confusing, so I always take my time when measuring and cutting.
Assembling the outer frame
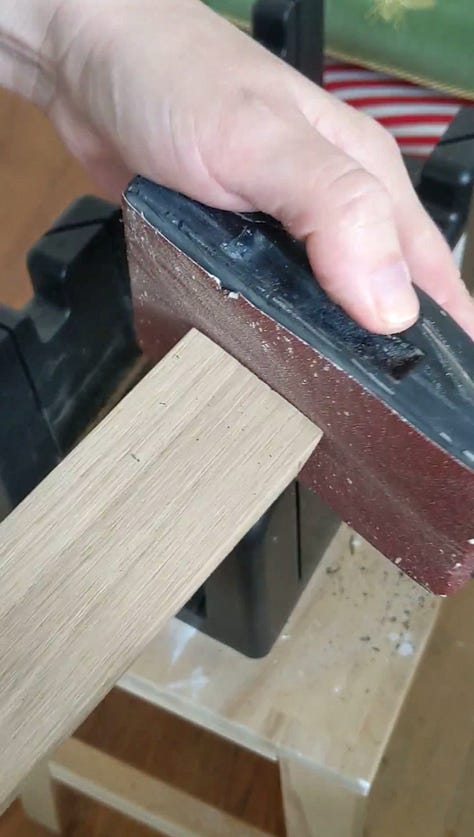
Having cut all the pieces, I briefly used my sanding block to soften the freshly hand sawn edges, and the pieces were ready for assembly.
Starting with the outer frame, I applied wood glue to the bevel cut edges of the oak strips and attached all four frame sides to each other. I used a generous amount of glue to ensure there’s enough to hold the pieces together. Any excess glue will squirt out the sides, and it definitely gets a bit messy cleaning it off, but this will give the frame a firmer hold.


To fix the frame in place and hold it together while curing, I used a band clamp, which applies an even amount of pressure on all four edges of the frame, but any type of corner clamp would do the job. Before securing the band clamp in place with as much pressure as possible, I ensured to neatly line up all the four corners of the frame. Wood glue is very strong, so once it dries, there’s no room for little adjustments.
Reinforcing the corners

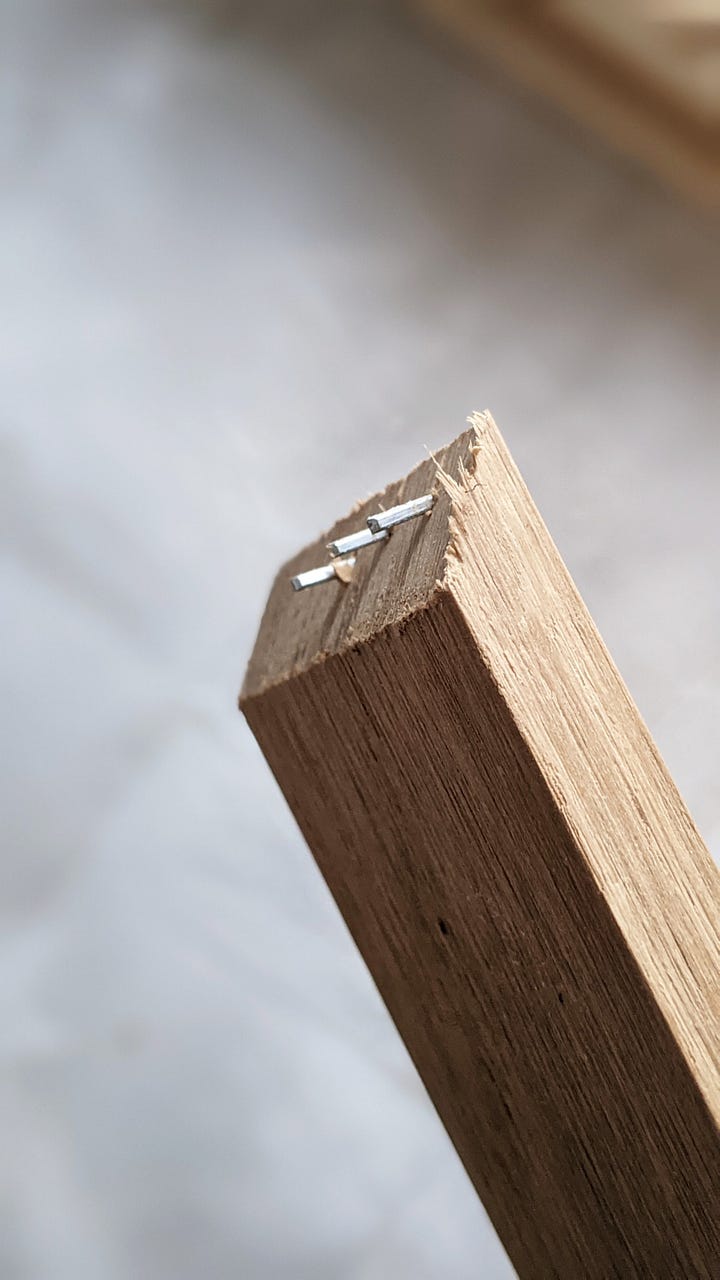
I allowed my outer frame pieces to cure properly for around 24 hours before loosening the band clamp and reinforcing the corners. To do this I used my manual nail gun, which only takes 10mm long nails unfortunately. However, if positioned close to the edges, these should shoot through both of the pieces of wood, adding at least a bit of support. A pneumatic nail gun would of course do a much more advantageous job.
It’s worth mentioning that it’s worth adding the nails only at the top and bottom of the frame, not on the sides. No matter which type of nail gun is used, this ensures that the nails are invisible and don’t necessarily need filling if that’s not a possibility. My nails were so tiny and sitting so close to the surface, for instance, I was not able to cover the nail head with filler, as it simply sanded off.
Sanding, filling and sanding
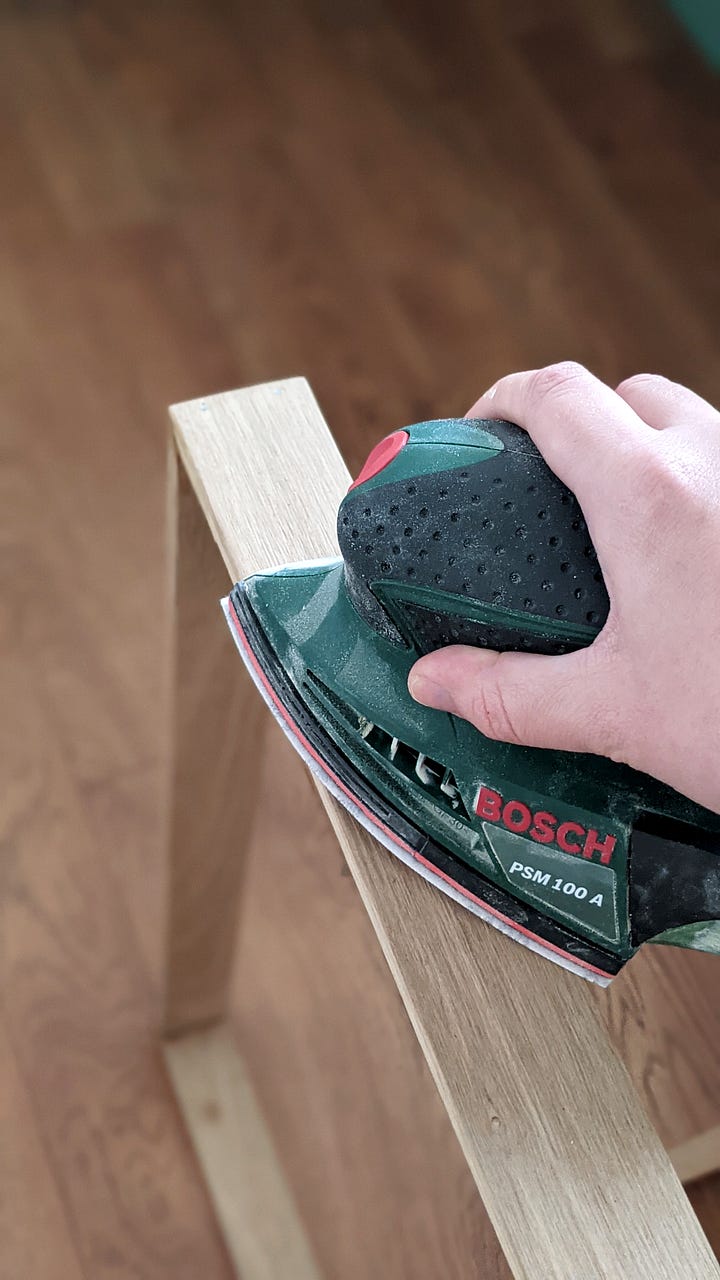
Speaking of sanding, once the outer frame cured and was reinforced, I gave it a good sand with 180 grit sandpaper. The wood I purchased was a bit rough to the touch and this gave it a lovely smooth finish. Additionally, this removed any stains left by the glue around the corners.
Now it’s worth taking the time to inspect the frame a bit closer, especially if a hand saw was used to cut the wood strips. My corners definitely had a few imperfections and needed to be evened out, as these were not aligned as neatly as I would have liked. As the areas to fill were so small, purchasing an oak coloured wood filler would have been very wasteful, so I made my own out of a bit of wood glue and wood dust created while sanding. This was the first time I used home-made wood filler and learned that it dries really fast, so it needs to be made in smaller batches and be applied quite fast. Overall though, I really liked working with it, as the biggest advantage, next to saving some cash and reducing waste, was the perfect colour match, given it’s made out of the dust from the wood I just sanded. Once the filler has dried fully, it can be sanded smooth, same as you would with a shop bought wood filler.



Attaching the back piece
Having finished construction of the outer frame, the pine back piece can be assembled and attached. Before getting the wood glue out again though, it’s worth inserting the canvas art into the newly made frame to work out the exact position of the pine strips. Despite having taken measurements previously, it will help figuring out the exact position of the pine strips to accommodate the preferred position of the canvas within the frame now it's constructed, i.e. slightly recessed or flush with the front of the frame.
In my case, given I’ve not taken the thickness of the folded over canvas corners into consideration, which added a few millimetres of thickness to the piece, my pine strips needed to sit 2mm outside of the frame. I’m not going to lie, this was a bit difficult to achieve, given the narrow width of the strips of only 4mm. However, a bit of patience, a good amount of wood glue, as well as a steady hand when securing the clamps, was all that was needed.
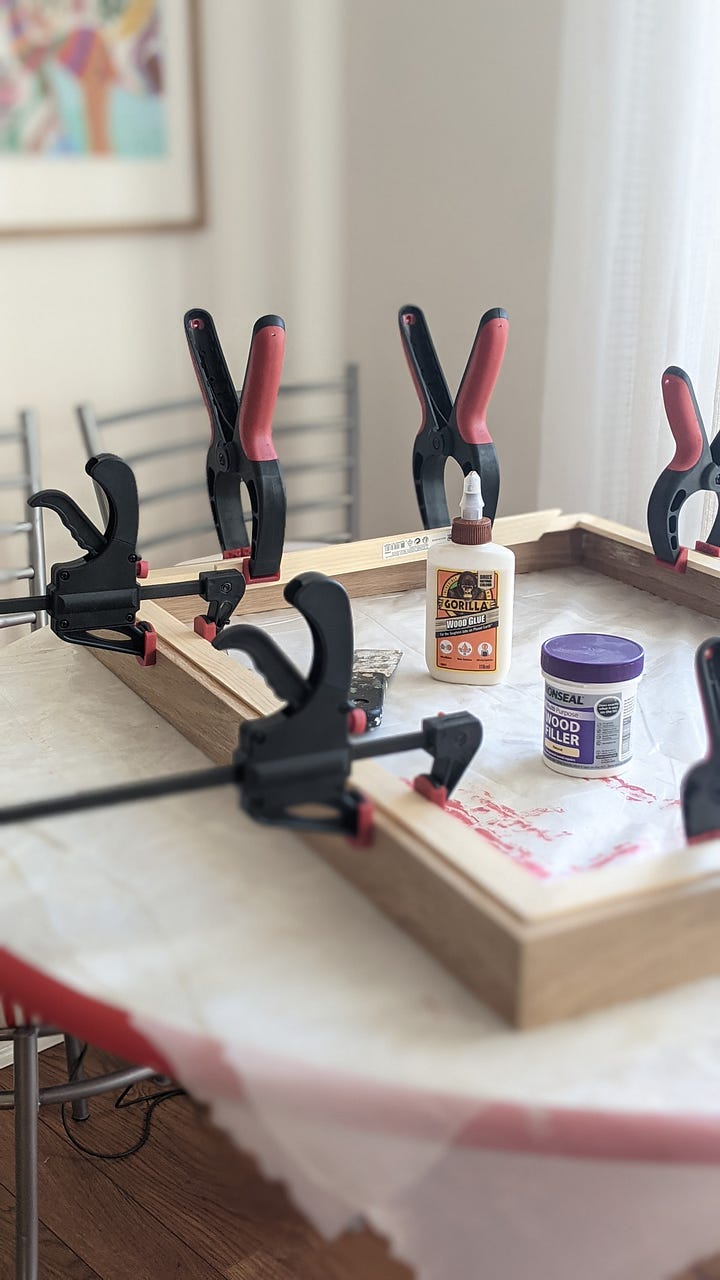
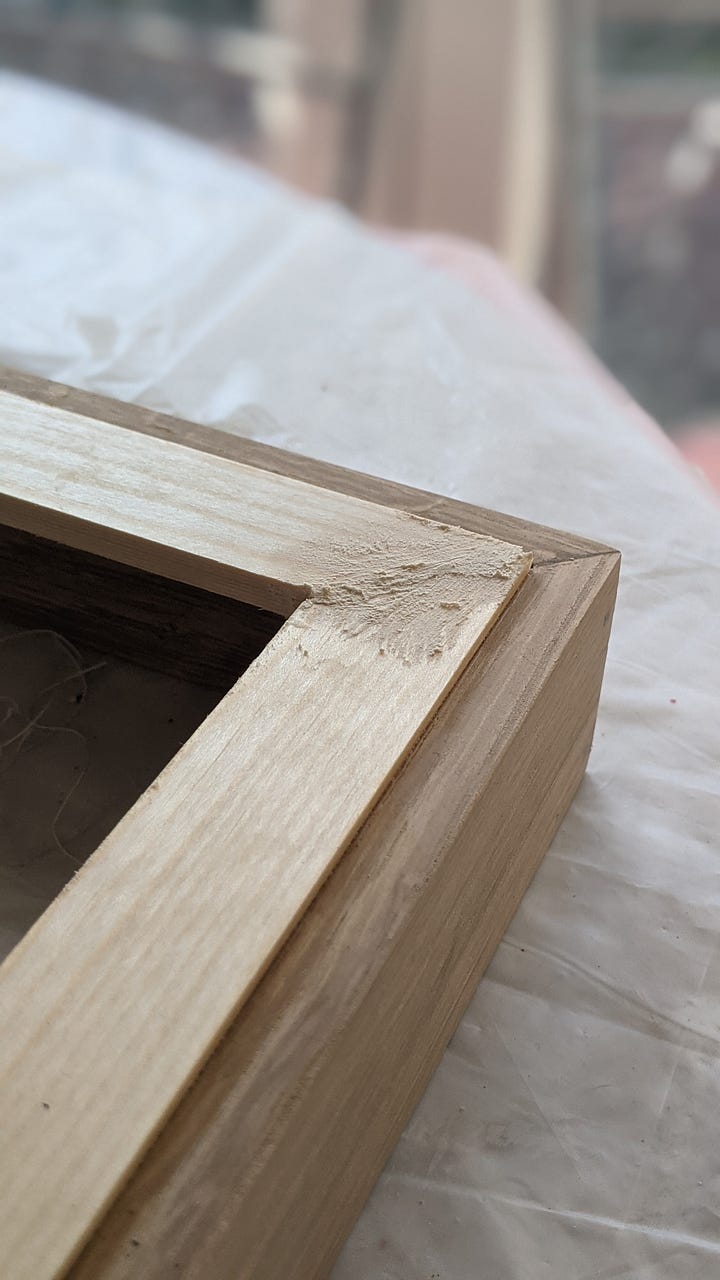
Once everything was in place, I inspected the frame closely one last time and filled any gaps between the pine pieces with wood filler. This is not absolutely necessary, due to it being the back piece, but light might travel through any small gaps.
Securing the frame in place
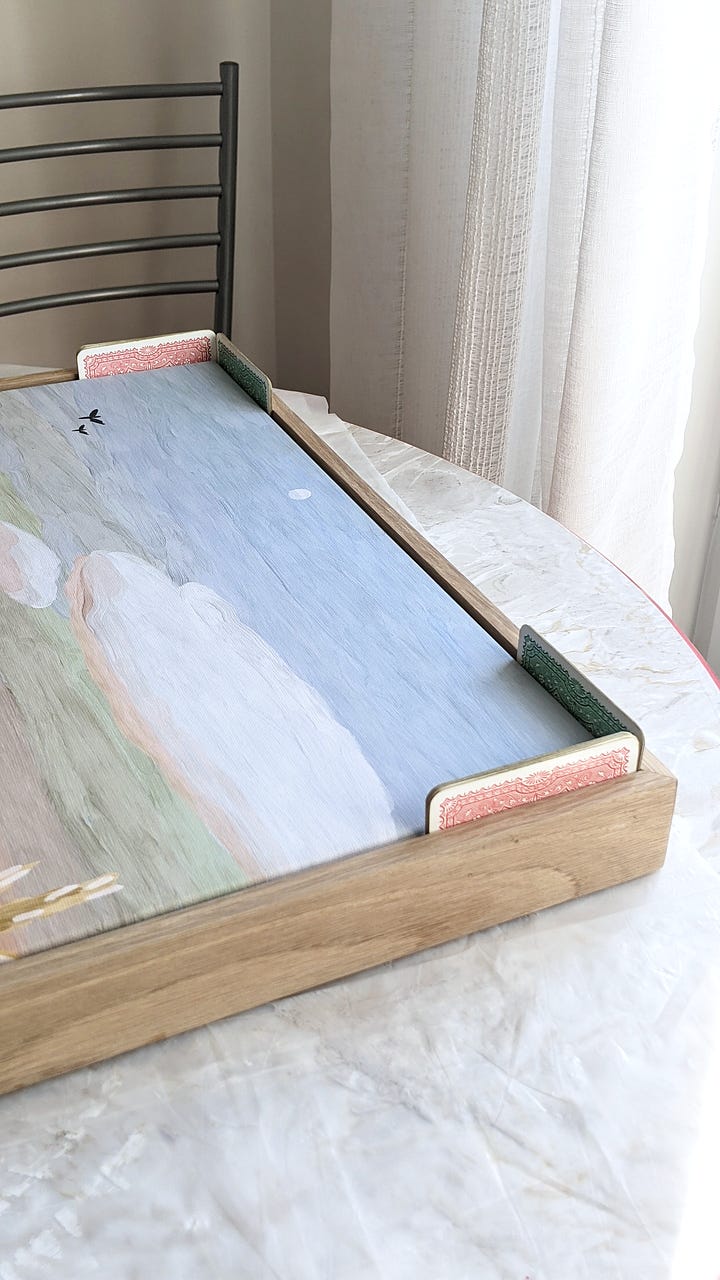
Now to the exciting part of the entire project, securing the art in place within the frame. Having removed all clamps and given the back of the frame a final sand to smooth out the wood filler and remove any possible glue stains, I turned the frame face up and inserted the canvas art. The little challenge now is to position the art centrally within the floating frame and hold it in place while securing it to the back piece of the frame. Various different spacers can be used to achieve this, but I found that playing cards, though a slightly unconventional item in DIY, were perfect for the job, given all cards in a pack come in a standard width. All that needs doing is adding exactly the same amount of cards on opposite sides of the canvas, and as many cards as would fit to lock the canvas in place.

Now, onto securing the art, which is done by using screws. As many screws as needed can be used and positioned anywhere on the back of the frame. In my project, I evened out the load of the canvas, by attaching the top screws to the top horizontal piece of pine, and the bottom screws to the bottom of the two vertical pieces of pine. Then, all that was left to do was drilling the pilot holes into the pine and canvas, countersink where the screwheads would sit, and fit the screws.
And that is it, a custom made floating canvas frame, that doesn’t cost the world, elevates and grounds a dear art piece on the wall, and is something you will be proud of every time you look at it.
I hope you found the above guide useful, and if you have any questions, please don’t hesitate to ask away in the comments below. If you’ve built a floating frame and tweaked its design, I'd be delighted to hear how you created yours.


